Showing posts with label Photoshop. Show all posts

Making Pie Chart / Graph in photoshop

Making Simple Pie Chart - Graph in photoshop.


Pie Chart -Infographics


Final view

Making pie chart in photoshop


Step 1: 

Create new file in Photoshop.
Fill it with white color (Shift+f5  ->  color).

Add rulers at middle of the screen
By selecting Circular shape tool  add circle from center. (press and hold 'Shft' and 'Alt' key while drawing circle for perfect shape)


Add rulers at middle and draw circle from center


Step 2:

- Make 3 duplicate layers of this layer.


Duplicate layers


-By double clicking on Layer each Thumbnail, color each circle.


Circles with different color fill
 
Step 3:

- Select upper layer (filled with red color), and selecting Polygonal Lasso Tool, make a selection from center of circle.


Make a selection for masking


- ow add Layer mask to this layer by clicking on 'Add Layer Mask' icon near the layer style icon.


After masking

- Similarly Select another layer (Yellow color circle), and make a selection with Polygonal Lasso Tool, and add layer mask


Make a selection for layer mask

Layer Masking in Photoshop
- Similarly add masks to all 4 layers. Your graph and layers looks like this.

Masked layers


Step 4:


- Select 1st Layer (Red colored circle), go to layer style and select Inner Glow.


Layer style - Inner Glow in photoshop


- Now Right click on this layer and select option "Copy Layer Style"

copy layer style

- Select other layers one by one, and by right clicking on them, select "Paste Layer Style"


Layer Masking in infographics -pie chart


Step 5:


- Select Circular Shape tool, and by pressing and holding 'Shft' + 'Alt' draw a circle  smaller than original circle, form center in white color.

Pie Chart free PSD, freebie


Step 6:

- Go to layer style and give some outer shadow with black color.

free download pie chart psd


Done..!!


Download Free PSD of Pie-Chart.

DOWNLOAD PSD


More about Author

Create a Lomography style wallpaper

Create a Lomographic wallpaper


Lomography is a analog camera movement and community. Also called as experimental film photography. This image contains different color combinations


Final view


making lomography wallpaper

Step 1: 
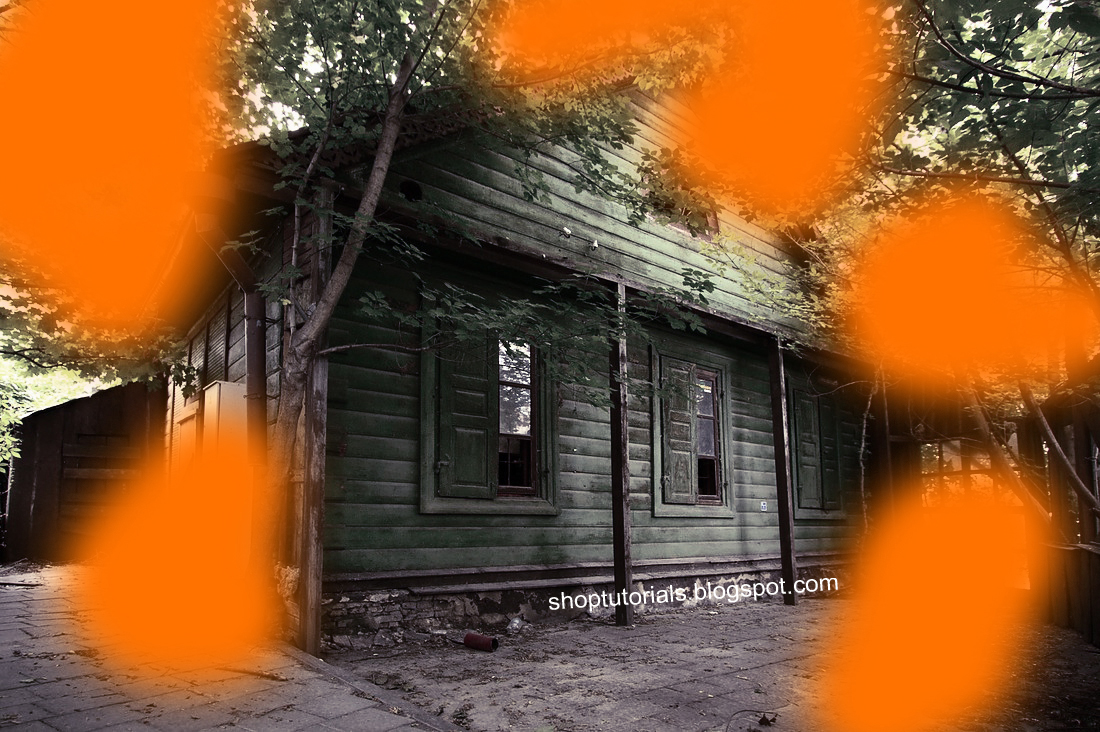
Take image in photoshop to give a lomographic effect. (See this photo)


Step 5:

- Make a duplicate layer of this image by pressing Ctrl+J.
- Go to Image ---> Adjustments ---> Gradient Map and select black white color combination and hit OK.


Gradient map for lomography image


Add gradient


Set this layers Opacity to 25%.

Adjust Opacity


Step 3:

- Make a new layer (Ctrl+Shft+N).

- Select Brush tool and select large size round brush..
- Set color to orange and paint on the new layer where you can see the sun light..


brush strokes by orange color


- Set the mode of this layer to Soft Light and Opacity to 70%.


Soft light mode


Step 4:

Similarly make a new layer and add some greenish and blue color strokes by brush..


Blue and greenish color strokes


Set this layers style to Soft Light and Opacity to 25%.


Photoshop tutorial for lomographic effect


Step 5:

- Now merge all your layers (Select all layers and press Ctrl+E)
- Select Blur tool from toolbox and set 

Mode = Normal and
Strength = 20%

final view - lomography image


Done..!!


Creating Dreamy Image in photoshp

Creating Dreamy Images in Photoshop

Creating Dreamy Images in Photoshop


Final View

Dream image -photoshop Tutorial


Dreamy Photo gives images a soft romantic feel. This is a superb effect for enhancing photography..

Step 1

Take a image in photoshop to make it dreamy.. (Click Here to see this photo)


Step 2


- Create a new layer (Ctrl+Shft+N).
- paint the background with black color..
- Go to Filter ---> Render ---> Lens Flare , and drop a lens from left top to right bottom.

Add lens flare


Hit OK


Lens flare


- Set this layers mode to Screen.


Set layer mode to screen


Step 3

- Now get one Bokeh type image. and take it in to the project..


Add bokeh image


- Make this layers mode to Screen and set opacity to 30%


after adding bokeh image


Step 4
- Now Create new layer (Ctrl+Shft+N).
- Paint background with brown color.. (Shft + F5 --->  color ---> select brown color ---> OK)


brown fill


- Make this layers mode to Screen.
- similar way make a new layer again and fill it with pink color, and set its mode to Screen.. and make the opacity of pink layer to 30%..


creating dreamy images in photoshop

Done...!!


Simple Retro Style Wallpaper Making

Creating Retro Style Wallpaper


Creating Retro Style Wallpaper

Final view

create retro style wallpaper


Step 1: 
Take a old paper style image/wallpaper.

retro background


 Make a new layer (Ctrl+Shft+N).
Select Rectangular Marquee Tool and make a selection. and fill the area with dark color (Shft+f5).

add colors on retro background


Step 2:

Again make a selection and fill it with different dark color...

add colors on background

Press Ctr+T for transform the layer..
and set this layer at the corner..

retro image

Set mode of this layer to Multiply.

set retro mode


Step 3:
Now get some the vector dancer images..

vector image

add vector image


Now go to Filter ---> Noise ---> Add Noise
set amount to 15. and Distribution to Gaussian. and set mode of layer to 'Pin Light'.

add noice


Step 4:
Add more dancer vector images and apply the effect as same..


add vectors


Add text with white color. go to blending options and select 'Drop Shadow'.
Hit ok. 
Raster this layer and set layer to 'Multiply'.

add text

photoshop utorial - Retro style wallpaper


Done..!!

How to Create Dispersion Effect in Photoshop

Dispersion Effect By using Image masking in Photoshop.

Tutorial for Dispersion Effect


Final view

DIspersion Effect in photoshop


Step 1:
Create New File.
Paint Give the Gradient to background using gradient fill tool.


Step 2: 
Take the Image/Object to Disperse..
I took the dancer Image from Google. copy paste the image/object on background.
(Cut the object only using lesso tool and paste it on background.) 


Step 3:

Copy paste this layer 2 times. and name the layers as layer 3, layer 4.


Now Press Ctrl+T for transforming the layer. and transform both copied layers larger than original. And arrange them behind the original layer.
This will look like this.

Image Dispersion

Now merge both copied layers.( Layer 3 and layer 4 by selecting them and press Ctrl+E).
now we have 3 layers 1) Background 2)Layer 3 (Layer 3 + Layer 4) 3)Original Object Image.

Step 4:
Now Add layer mask(Layer ---> Add layer Mask ---> Hide all).


Select the Splatter Brushes and just click on the mask(black) layer.


Step 5:
Now select Layer 1 and add mask to it (Layer ---> Add Layer Mask ---> Reveal All).
Again select Splatter Brushes And Make Some clicks/strokes on the disperses side on the masked layer(white).


Step 5:

If u hide the Layer 3, You will get this Image..

photoshop Dispersion Effect


Step 6:

Make visible Both Layers Layer1 and Layer3, You will get final Dispersed Image...

Image Dispersion


Done..!!