Creating Dreamy Images in Photoshop
Creating Dreamy Images in Photoshop
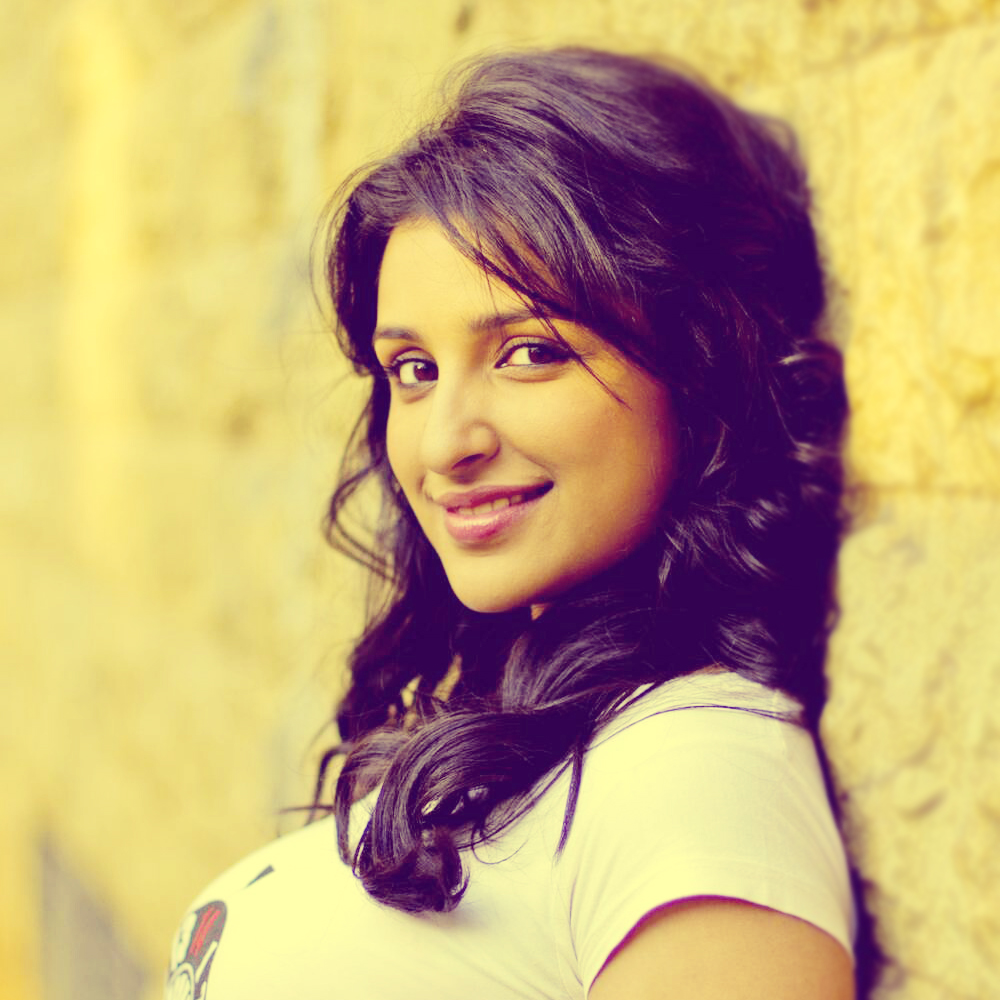
Final View
Dreamy Photo gives images a soft romantic feel. This is a superb effect for enhancing photography..
Step 1
Take a image in photoshop to make it dreamy.. (Click Here to see this photo)
Step 2
- Create a new layer (Ctrl+Shft+N).
- paint the background with black color..
- Go to Filter ---> Render ---> Lens Flare , and drop a lens from left top to right bottom.
Hit OK
- Set this layers mode to Screen.
Step 3
- Now get one Bokeh type image. and take it in to the project..
- Make this layers mode to Screen and set opacity to 30%.
Step 4
- Now Create new layer (Ctrl+Shft+N).
- Paint background with brown color.. (Shft + F5 ---> color ---> select brown color ---> OK)
- Make this layers mode to Screen.
- similar way make a new layer again and fill it with pink color, and set its mode to Screen.. and make the opacity of pink layer to 30%..
Done...!!
Create a Classic Vintage Photo or Old Photo...
Create a Classic Vintage Photo
Final view
Step 1:
Take a image/photo to edit.
Press Ctrl+M (Curves), increase brightness of the photo.
Hit OK.
Make a duplicate layer by pressing Ctrl+J.
Go to Imahe ---> Adjustments ---> Gradient Map.
Select two color combination (Yellow and Blue).
Hit OK.
Set the Opacity of this layer to 30.
Press Ctrl+M (Curves) and add brightness..
Now go to Blending Options ---> Inner Shadow.
Set Opacity = 50% , Distance = 0px , Choke = 10% , Size = 250px.
Hit OK.
Done..!!
Tutorial for Clarify photo using high pass filter...
Clarify Photo Using High Pass Filter
Final view
Step 1:
Take Photo to clarify.
Make a duplicate layer of this layer by pressing Ctrl+J.
Go to Filter ---> Other ---> High Pass.
Set radius to 1.5 pixels. and hit OK.
And set the mode of this layer to Overlay.
For even Better clarify the image you can just make a duplicate layer of this layer by pressing Ctrl+J.
Done..!!
Tutorial for Giving Stunning Photo Effect in photoshop...
Superb Stunning Photo
Final view
Step 1:
Create new file and fill the background with Gray(D1D1D1) color. (Shft+f5 ---> Color --->select black)
Create new layer (Ctrl+Shft+N).
Get some
Splatter brushes and drop on newly created layer with Black color.
Again Make new layer (Ctrl+Shft+N).
Set color to Black and foreground color to White. And go to Filter ---> Render ---> Clouds.
and set the mode of this layer to "Lighten".
Step 3:
Create new layer above the clouds layer. select Gradient Fill tool and choose 2 color combination and set 2 colors of your choice..
I've choose (1271FF and 01FFA8).
And drag mouse on layer top to bottom.
Set the mode of this layer to "Overlay".
Step 4:
Get your Object/Image in the project.
Press Ctrl+M for Curves. and change the Red, Blue, Green color combinations as shown in Previous tutorial if Instagram Image.
Step 5:
Make new layer below Object Layer(Ctrl+N).
Now Make New Layer above the Object layer and drop splatter brushes with white color. and make a duplicate layer of this layer by pressing Ctrl+J.
Hide the duplicated upper layer. and go to Blending Options ---> Gradient Fill ---> Select Rainbow Color Pattern and set angle to 0 degree..
Press OK
Go to Filter ---> Blur ---> Gaussian Blur --> set radius to '4' and Hit Ok.
The rainbow Colors Get blurred.
Now Visible the duplicated upper layer.
Go to Blending options ---> Outer Glow ---> set Mode to Color Dodge.
Make new layer and select rectangular marquee tool and select square.
Select Gradient Fill tool and select the white color + Transparent pattern
Select radial fill and drag mouse in selected rectangle from top to bottom.
Set the layer mode to "Screen".
Now Press Ctrl+T for transforming this layer. and reduce the height of the layer.
Place it wherever you want. you can also make duplicate layers of this for better effect.
Done..!!
Tutorial for Generating Instagram Photo in 4 easy steps
Create Instagram Photo in 4 steps
Final view
Step 1:
Take a Image in Photoshop.
Press Ctrl+M (Curves) and apply following changes..
1) RGB :- Set Input : 129 and Output : 158
2) RED :- Set Input : 149 and Output : 116
3) GREEN :- Set Input : 149 and Output : 116
4) BLUE:- Set Input : 97 and Output : 148
Hot OK and see result.
Done..!!
Tutorial for Creating Pixelated Picture or wallpaper
Pixelated Picture
Final view
Step 1:
Take a Image to Pixelate.
Make a duplicate layer by pressing Ctrl+J.
Go to Filter ---> Pixelate ---> Mosaic
And set cell size to 15 ---> hit OK.
Go to Layer ---> Add Layer Mask ---> Reveal All
Step 3:
Select Gradient fill tool and select the black-white color..and hit OK.
Step 4:
Now drag the cursor from left to right on image...
Done..!!