Showing posts with label Retro. Show all posts

Making Simple Abstract Background

Making Simple Abstract Background in Photoshop

Creating Simple Abstract Background For Your PC 


We all know that all the operating systems like XP, W7,vista, Ubantu, Mac are comes with default desktop backgrounds. Among these backgrounds 2 or 3 are abstract type, very colorful, having nice lightning effect..

Its very easy and simple to make our own background image for our PC. Let's see how to make Abstract background in Photoshop. 


Final view

Making Abstract Background in Photoshop


Step 1: 

Create new file and fill the background with Black color (Shft+f5 ---> color ---> select black color ---> OK)
fill background with black color


Step 2:

Now make a new layer (Ctrl + Shft + N) name the layer.
Select Brush tool from tool box with blue color and paint on newly created layer.

rough sketch with blue color


Go to filter ---> Blur ---> Gaussian Blur and make the full radius Blur. and hit OK.


Guassian Blur


Step 3:

Again Make a New layer (Ctrl + Shft + N).
and now select brush with pink color. and make some rough sketch on newly created layer.


rough sketch with pink color


Make a Blur same as above... Go to filter ---> Blur ---> Gaussian Blur and make the full radius Blur. and hit OK.


Step 4:
 
Similarly repeat process until hole background will be covered with different colors.

colorful background


Step 5:
 
Now Make a new layer and Select the Ellipticle Marquee Tool from tool box. and make large circle by selecting on layer.
select circle by ellipticle marquee tool

Now select the Gradient fill tool. And select only one color gradient (White color).

one color Gradient fill


After selecting white color gradient, hit OK.
and drag cursor little bit longer from the edge of the circle.


For making color lightning shades


Step 5:
 
Press Ctrl+T for transform this layer. adjust the layers height and width.
And Change the layers mode to Overlay
make two duplicate layers of this layer by pressing Ctrl+J. 
Select each individual layer and adjust it wherever you want..


photoshop tutorial - Making Abstract background
 
Done..!!

Create a Lomography style wallpaper

Create a Lomographic wallpaper


Lomography is a analog camera movement and community. Also called as experimental film photography. This image contains different color combinations


Final view


making lomography wallpaper


Step 1: 
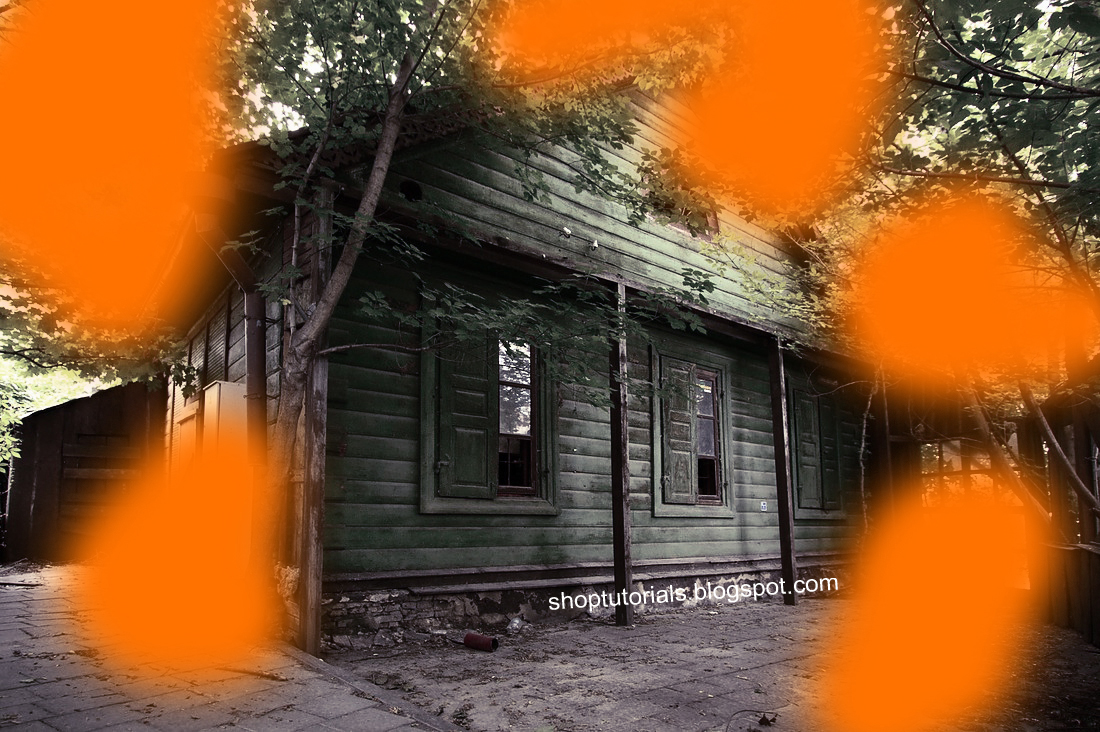
Take image in photoshop to give a lomographic effect. (See this photo)


Step 5:

- Make a duplicate layer of this image by pressing Ctrl+J.
- Go to Image ---> Adjustments ---> Gradient Map and select black white color combination and hit OK.


Gradient map for lomography image


Add gradient


Set this layers Opacity to 25%.

Adjust Opacity


Step 3:

- Make a new layer (Ctrl+Shft+N).

- Select Brush tool and select large size round brush..
- Set color to orange and paint on the new layer where you can see the sun light..


brush strokes by orange color


- Set the mode of this layer to Soft Light and Opacity to 70%.


Soft light mode


Step 4:

Similarly make a new layer and add some greenish and blue color strokes by brush..


Blue and greenish color strokes


Set this layers style to Soft Light and Opacity to 25%.


Photoshop tutorial for lomographic effect


Step 5:

- Now merge all your layers (Select all layers and press Ctrl+E)
- Select Blur tool from toolbox and set 

Mode = Normal and
Strength = 20%

final view - lomography image


Done..!!


Easy Retro Style Fashion Touch

Giving a easy retro style fashion touch to Photo...


Easy Retro Style Fashion Touch 

Final view

retro style photo effect


Step 1: 
Take a image/photo to edit.

photo retouch


Step 2:

Press Ctrl+M (Curves), increase brightness of the photo.
Set Input = 113 and Output to 150.

vintage style photo effect

Hit OK.


Step 3:

Make a New Layer (Ctrl+Shft+N).
Fill it with white color (Shft+f5 ---> Color ---->  Select white color ---> OK).
And set the Mode Of this Layer To "Soft Light"

create retro style photo in photoshop


Step 4:


Again make a New Layer (Ctrl+Shft+N).
Fill it with Blue color (Shft+f5 ---> Color ---->  Select Blue color ---> OK).
And set the Mode Of this Layer To "Lighten" and Opacity to "45%".


retro fashion touch


Your Layers will be like this.

Vintage fashion touch - layers


Instate of Blue You can Use any color..
Some sample --

vintage fashion touch


retro fashion touch


Done..!!

Create Instagram Photo in 4 steps

Tutorial for Generating Instagram Photo in 4 easy steps


Create Instagram Photo in 4 steps

Final view

Create Instagram Photo in 4 steps


Step 1: 
Take a Image in Photoshop.

 Instagram Photo


Step 2:

Press Ctrl+M (Curves) and apply following changes..

1) RGB :-   Set     Input : 129     and      Output : 158

 Instagram Photo - adjust curves


2)   RED  :-   Set   Input  :   149   and Output  :  116

 Instagram Photo - step 2


3)   GREEN  :-  Set   Input  :   149   and Output  :  116

 Instagram Photo - step 3


4)   BLUE:-  Set   Input  :   97   and Output  :  148

 Instagram Photo - step 4


Hot OK and see result.

 Instagram Photo | photoshop tutorials


Done..!!

Simple Retro Style Wallpaper Making

Creating Retro Style Wallpaper


Creating Retro Style Wallpaper

Final view

create retro style wallpaper


Step 1: 
Take a old paper style image/wallpaper.

retro background


 Make a new layer (Ctrl+Shft+N).
Select Rectangular Marquee Tool and make a selection. and fill the area with dark color (Shft+f5).

add colors on retro background


Step 2:

Again make a selection and fill it with different dark color...

add colors on background

Press Ctr+T for transform the layer..
and set this layer at the corner..

retro image

Set mode of this layer to Multiply.

set retro mode


Step 3:
Now get some the vector dancer images..

vector image

add vector image


Now go to Filter ---> Noise ---> Add Noise
set amount to 15. and Distribution to Gaussian. and set mode of layer to 'Pin Light'.

add noice


Step 4:
Add more dancer vector images and apply the effect as same..


add vectors


Add text with white color. go to blending options and select 'Drop Shadow'.
Hit ok. 
Raster this layer and set layer to 'Multiply'.

add text

photoshop utorial - Retro style wallpaper


Done..!!

Black-White-Color Effect

Creating Black-White-Color Combination of Color Photo for focusing on Object


Black-White-Color Effect


Final view

black white color effect


Step 1: 
Take an image to edit in photoshop.


black white color effect -Original Image


Step 2:

Make a duplicate layer pressing Ctrl+J.

And make the layer Black-White, or go to Image ---> Adjustments ---> Gradient Map ---> select black-white colors ---> OK.

NOTE :
(Before making Image Black-white, choose the color from image which is most used or choose the color of object.) 


Step 3:

Now select eraser tool from tool box and erase the RED color areas which are appear on the objective (Player).


Black-White-Color photoshop


Done..!!